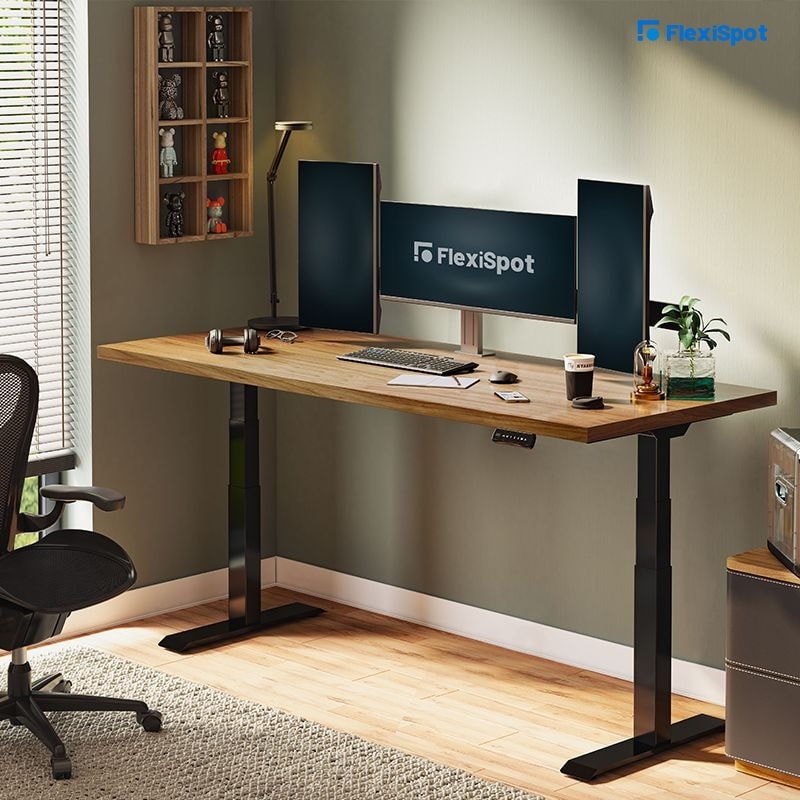
Have you ever decided to adopt the vertical monitor structure but the plan later fell through? Even if you never considered it, you're not alone. It has happened to us all at one point. After all, the tradition has always been the horizontal setup.
However, you'll be amazed to know how much and fast a vertical monitor can help you perform tasks. It comes with so much ease. The only bad side is that it does not apply to every situation.
That's what we'll show you as you read further. We'll also break down the idea of a sideways monitor, how to set it up, and other factors you need to consider as you start the hunt for vertical monitors.
What is a Vertical Monitor Setup?
The basic but very important piece of info you need to know here's that the ideal structure of a monitor is horizontal. Yes, that should not be surprising. Let's take Microsoft Office Word as an example. If you're very conversant with its operations, you must have seen landscape and portrait displays.
So if you understand a portrait orientation, then that's vertical. Let's make it more practical. Imagine you hold a letter-sized paper (8.5" × 11"), you'll notice that the short sides are at the top and bottom. Isn't it?
On the other hand, the longer sides of the paper are on the left and right sides. That's what we call portrait display and you can think of it as vertical. Now that you know what a vertical monitor setup is, let's show you the default layout of monitors - landscape or horizontal orientation.
This is when the short sides of the paper are at the left and right (sideways), while the long sides are located at the top and bottom. No-brainer! Since the corporate world has revolutionized beyond square-shaped monitors, we'll assume that your current monitor is rectangular and in a horizontal layout.
To go vertical, you have to rotate the monitor by 90°. By now, you should be seeing updates on the system sideways. Your next task is to regulate the computer's display setting so that the info will also display vertically. There you have it - a vertical monitor!
Photo Credit: Caffeine
Why You Should Invest in a Vertical Monitor?
You should remember that no rule or convention says you must use a vertical monitor. Rather, we're encouraging you to look into the idea, examine its operations and how it fits into your workspace, and finally determine if you'll adopt it or you want to stay horizontally.
So if you're working at your workplace or home office and you discern that the updates being displayed on the system will give you ease and a perfect view if you go vertical, then you belong here.
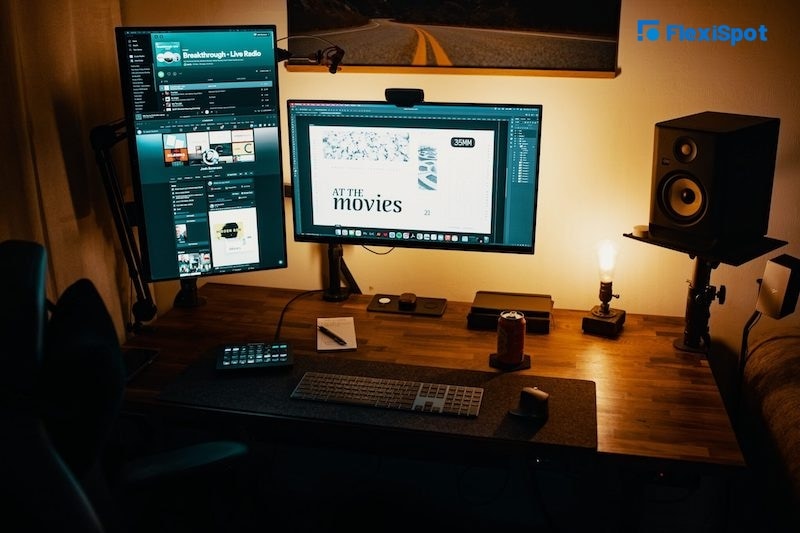
Let's take a close look at our counterparts in the programming world. They're the highest number of folks using vertical monitors. Is it coincidental?
Certainly not. They understand that the lesser they have to scroll up and down, the easier and more uniform all the codes will be shown. That's why almost every programmer uses a vertical setup.
Hence, maintaining a vertical orientation will help you cover all the relevant pieces of information without scrolling hither and thither.
Photo Credit: Caffeine
When You Should Not Consider a Vertical Monitor Setup?
Ideally, you should note that going vertical when the data on your PC is displayed horizontally is unhealthy.
For instance, you might discover that you prefer using the window snap on your Ms. Windows. Meanwhile, the program gives you one window containing the left half of the screen and the other window covering the right.
So you should always stay with the conventional horizontal in such cases. Another way is if you're the kind of person that opens many tabs on his browser and will like to easily access them.
Also, transitioning to a sideways monitor might not be appropriate if you're using a single screen. That's because the flow gets frustrating sometimes when you have your primary screen vertically positioned.
Photo Credit: Caffeine
How to Connect a Vertical Monitor?
This is the meat of the article, so we need you to pay rapt attention as we show you how to build a vertical monitor. You should note that the sideways monitor demand that you perform two tasks. The first is physical while the other one will be done from your desktop.
The first part is to rotate your screen. Of course, it sounds easy but things might get messier depending on the make and model of your monitor. However, that doesn't mean there's a cause for alarm.
First, check if the monitor can be rotated sideways. If it's not, you have to look out for a locking mechanism. It's usually at the rear part of the monitor.
Once you're there, release it and you can now rotate the monitor. In the same way, you have to come back to the mechanism to lock it up once you've turned the monitor to your preferred position.
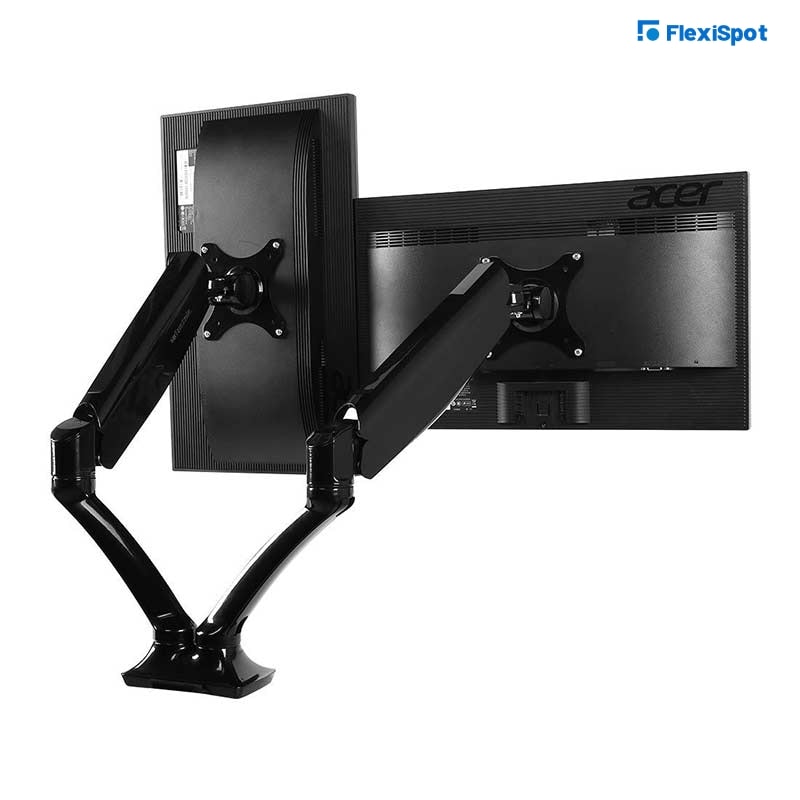
If you're supporting your setup with a monitor mount or arm, you should easily use the holding mechanism to rotate the monitor. Anyway, don't forget that your target for rotation is 90-degree. This means that the longer sides of the monitor have to be on the left and right sides.
By now, you have won the first challenge - physical element - and all the updates on the screen are appearing sideways. That's because you've not commanded the PC to display vertically.
To activate the command, you have to right-click your cursor on an empty area of the desktop and choose "Display Settings".
You'll see many configuration options such as style, multiple screen display, resolution, etc here. Your focus here's the orientation area and it should be landscape by default. In other words, we want to change it to portrait.
Meanwhile, there are options like "Portrait (flipped)" and "Landscape (flipped)". And since your screen has four sides, you can use any of the options for the display top.
However, you can spin the screen to 180° which means it'll be in the landscape orientation again. The only difference now is that the screen's bottom would become the display top.
To toss it perfectly, you would select "Landscape (flipped)". You'll use the same method for portrait orientation. That is, you have to select "Portrait" for one of the short sides and if the other is at the top, you will choose "Portrait (flipped)".
Finally, if yours is a Mac, go to "System Preferences" on the Apple menu, choose "Displays", click the "Rotation" menu, and hit the "90°" on the drop-down.
Are There Any Factors You Should Consider While Building a Vertical Monitor Setup?
Monitor Options
Other than knowing how to connect a vertical monitor structure, you might also be interested in a vertical dual monitor plan. So this is the best time you watch out for a second monitor.
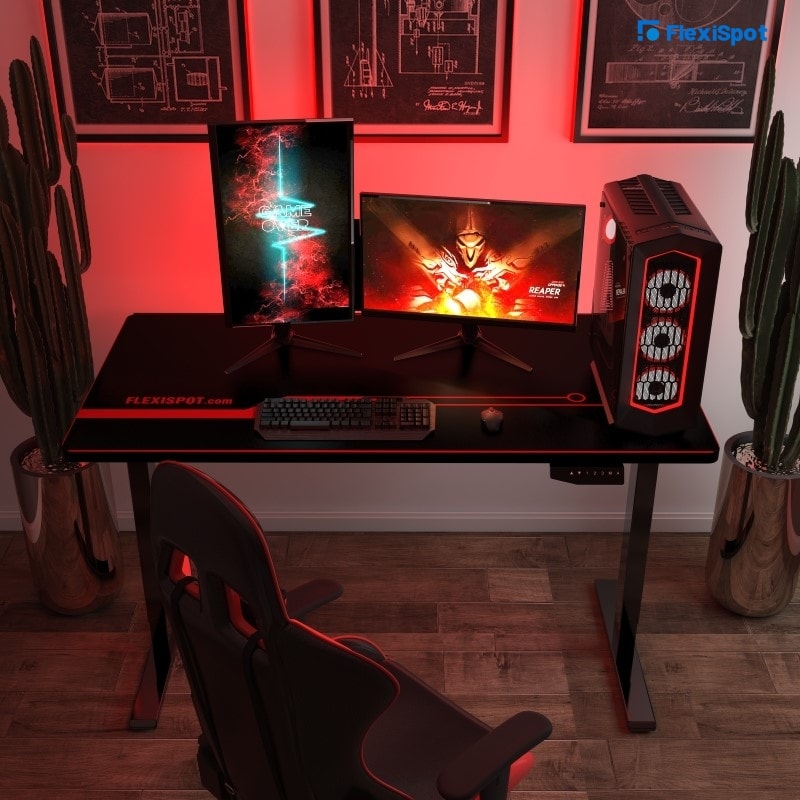
You should also go for monitors with high resolution and beautiful displays. At least, a 1440p resolution and refresh rate of 165Hz should work perfectly. This way, you can use the monitors for other tasks apart from your office needs. Oh, you have a flair for gaming? These monitors will also give you the best experience.
The Dual Monitor Structure
As we earlier said, you shouldn't switch your only monitor to vertical even if the setup is conducive for your tasks. So what you need is a vertical dual monitor plan where you can switch the second screen to a vertical display.
How do you do this? Let's go back to the "Display Settings" where we have the various orientation configuration styles. Once you're there, you should also see the dual-screen options. Now, hit "Extend" and boom! You can use two screens for your tasks.
The Triple Monitor Structure
This idea is a subset of the dual-screen option. Again, you'll also use the "Extend" option to activate the monitors. After hitting the"Display Settings", you'll see some virtual displays. They stand for your physical screens and you can flick them around.
That's because all the displays should be in the same order as the screen is extended. This will also affect the direction your mouse cursor goes from one screen to the other.
Ideally, people that use three monitors often have the primary screen in between. So as you drag the displays around, we suggest that you put your main screen in the center.
Laptop and Second Screen Composition
If you don't have a desktop, it follows that your major screen is glued to your laptop. So what do we do? You'll have to combine a monitor setup with your laptop. In this case, you plug the monitor into the docking station.
It'll immediately switch to the second screen and you can adjust it using the same procedure discussed above. As long as your laptop welcomes it, you can use two monitors and your laptop to set up a triple-screen configuration.
How Many Pixels Are Recommended for Your Use?
In this current dispensation, a display of 1080p (1920×1080) display should be sufficient for your needs. And if you want to go a bit higher to 1440p (2560×1440), you will enjoy a more improved display quality. So why settle for less when you can have more than what you need?
Monitor Mounts
You'll remember that we've touched the subject of monitor mounts earlier, so you shouldn't trivialize the comfort and value of having them in your workspace. Ordinarily, monitors are often delivered with an arm that you put them on.
But if you're not satisfied with the factory-made, you should check more Flexispot monitor mounts that'll give you full stability.
Final Remarks
As you can see, there are a lot of goodies awaiting you. All you need to do is introduce the vertical monitor concept into your workstation and live a more robust work-life.
At this point, we believe that you understand why you should have the setup, and when to and when not to use it. Lastly, you have also been shown how to configure a monitor setup. On this note, we will be glad to have you visit our online store for your monitor arms and other ergonomic office products.

